


Hiking alone abroad is mostly the same as hiking alone at home, with one difference that matters: if something goes wrong, the people who know how to find you don’t speak your language, and nobody knows you’re missing until you fail to show up. This manual fixes that with a plan you can write in twenty minutes and a device choice you only have to make once.
Work through it in order. Each section ends with a line to tick off.

Part 1: Before you leave home
1.1 Choose your emergency device
Your phone works until it doesn’t. Away from mobile signal you need something that talks to satellites. There are three options:
| Device | How it calls for help | Two-way messages | Running cost | Best for |
|---|---|---|---|---|
| iPhone 14 or later, satellite SOS | Texts emergency services via satellite when you have no signal or Wi-Fi | Emergency texts. Other satellite features vary by country | Free for two years after activation | Day hikes in the countries where the feature works |
| Personal locator beacon (PLB) | Sends a 406 MHz distress signal with your position to the international Cospas-Sarsat rescue system | No | No subscription, but you must register it | A last-resort backup that works almost anywhere |
| Two-way satellite messenger | Sends an SOS to a monitoring centre and lets you text back and forth | Yes | Monthly or annual plan | Multi-day trips, or when you want to tell someone you’re fine every night |
Apple’s satellite SOS has strict limits. Apple’s support page (published 5 October 2026) lists where it works: Andorra, Australia, Austria, Belgium, Canada, France, Germany, Iceland, Ireland, Italy, Japan, Luxembourg, Mexico, the Netherlands, New Zealand, Norway, Portugal, Spain, Switzerland, the UK and the US. Satellite connectivity isn’t offered on iPhones bought in Armenia, Belarus, mainland China, Kazakhstan, Kyrgyzstan or Russia.
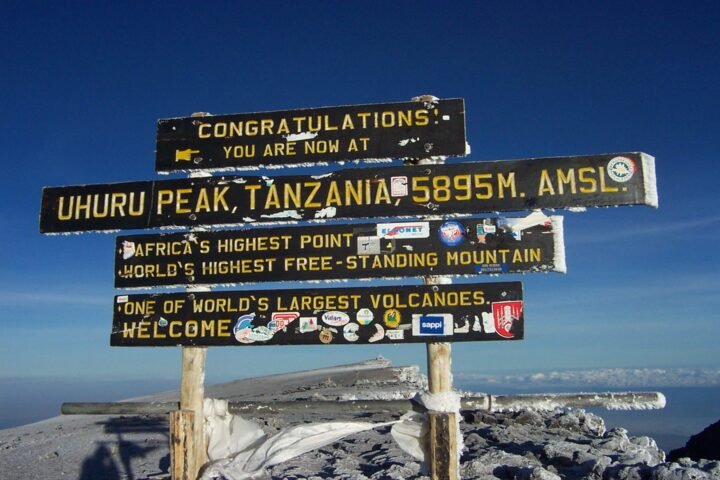
That means it won’t help in Nepal, Peru or Tanzania. If your trip goes beyond that list, you need a PLB or a messenger.
Rule of thumb: use your phone where it’s supported, add a PLB for remote routes anywhere, and get a messenger if someone at home needs to hear from you every day.
☐ Device chosen, charged and tested.
1.2 Register the beacon in the right country
A PLB is only useful if rescuers can find out who it belongs to. Each beacon is registered in the country it’s coded for. In the UK, for example, registration is free and online through the UK 406 MHz beacon registry. Check two things before you leave:
- That the registration is current and lists your emergency contacts and trip details.
- How using the beacon abroad works under your country’s registry. Some ask you to add your trip details or a second contact.
☐ Beacon registered, with your contacts and trip details up to date.
1.3 Get the right insurance
Read the hiking or trekking section of your policy, not the summary. Look for search and rescue, helicopter evacuation, and any altitude limit. Some policies treat search and rescue separately from medical evacuation. If you need a refresher on what’s normally included, read our plain-English map of travel insurance.
☐ Policy checked for hiking, rescue and evacuation, and the emergency number saved.
1.4 Download offline maps and the local emergency number
Download the whole region, not just the trail, so you can find your way out by another route. Write down the local emergency number:
- 112 works across the EU and in many other countries.
- 911 in the US, Canada and Mexico.
- Check other countries before you go. Japan, for example, uses 119 for ambulance and fire, and 110 for police.
☐ Offline maps downloaded and the local emergency number noted.
Part 2: The trip plan
Write down your trip plan and send it to one person at home who will actually read it. Keep it short enough to fit in one message:
- Route: trailhead, the route you’ll take, where you’ll finish, and any planned side trips.
- Times: when you’ll start, and the latest time you’ll be off the trail.
- Turnaround time: the time you’ll turn back, wherever you’ve reached.
- What you’re carrying: device, food, water, clothing layers, and the colour of your jacket and pack.
- Accommodation: where you’re staying tonight and tomorrow night.
- Alarm time: the time at which, if they haven’t heard from you, they should call for help, and the number to call.
The alarm time is the part most people leave out, and it’s the part that gets you rescued. Agree what “call for help” means, too: the local emergency number, your insurer’s assistance line, or your accommodation.
☐ Trip plan sent and acknowledged.

Part 3: At the trailhead
- Check today’s conditions. Look at trail reports, closures and the weather from the official park or tourism office. Parks often have rules for lone hikers, such as minimum group sizes in bear areas.
- Sign the trail register if there is one. Take a photo of the trailhead sign or map.
- Tell someone local. Let your guesthouse or hostel reception know where you’re going and when you expect to be back.
- Charge everything and turn tracking on.
☐ Conditions checked, register signed and reception told.
Part 4: On the trail
- Keep to the turnaround time. On your own, there’s no one to talk you out of “just one more ridge”.
- Leave a margin on technical sections. A twisted ankle is a nuisance with a friend and an emergency on your own.
- Check in at each planned point if you have a messenger.
- Save battery. Put your phone in airplane mode when you’re not using it, and keep it warm in cold weather.
- Know when to stop. Fog, a missed junction or sudden fatigue are reasons to wait or go back, not to press on.
☐ Turnaround time kept and check-ins made.
Part 5: If something goes wrong
- Stop and get safe. Move off exposed ground if you can, add layers, and drink some water.
- Try your phone first. Even one bar of signal is enough to call or text the local emergency number.
- No signal? Use the satellite. Send an SOS from your phone or messenger, or activate the PLB. A PLB is designed to keep transmitting for many hours, so leave it switched on.
- Stay where you are unless staying would put you in danger. Rescuers search from your last known position.
- Make yourself visible. Use a bright jacket, your headlamp or a whistle (three blasts is the widely used distress signal).
Part 6: When going alone isn’t the right call
Hiking alone is a choice. Some days it’s the wrong one:
- The route has glacier travel, river crossings or scrambling beyond what you’ve done before.
- The weather forecast is marginal and there’s no easy way off.
- Local rules ask for groups or guides. Nepal now requires licensed guides on most protected routes, and some Canadian parks set minimum group sizes in bear areas during berry season.
On days like these, join a group for the day or hire a guide. Our guide to planning your first adventure trip explains how to judge difficulty, and Landing Alone at Night uses the same plan-first approach for arrival day.
The checklist, all in one place
- ☐ Device chosen and tested: satellite SOS phone, PLB or messenger
- ☐ Beacon registered, with your trip details
- ☐ Insurance covers hiking, rescue and evacuation
- ☐ Offline maps downloaded and the local emergency number noted
- ☐ Trip plan sent, including your alarm time
- ☐ Conditions checked and reception told
- ☐ Turnaround time kept
Hiking alone abroad comes down to two things: a device that can reach a satellite, and one person at home who knows when to raise the alarm. Get both sorted before you fly, and the rest is the hike. For more solo planning, sign up for the TravelSpatial newsletter.
Sources
- Apple: Emergency SOS via satellite on iPhone (published 5 October 2026, checked November 2026)
- GOV.UK: Register a UK 406 MHz beacon (checked November 2026)
- Kumano Tourism Bureau: tips and safety (emergency numbers in Japan, checked November 2026)
Photo credits
- Hike to Torres del Paine (5484169795) by Liam Quinn from Canada, CC BY-SA 2.0, via Wikimedia Commons
- Micro personal locator beacon by NASA Goddard/Rebecca Roth, Public domain, via Wikimedia Commons
The infographic is original to TravelSpatial. Photos are used under the licences linked above.


1 comment on “Hiking Alone Abroad: A Trip Plan, a Device Choice and the Checklist That Gets You Found”